Let’s get our practical hats on today and do something towards your next megagame!
A lot of people really enjoy the fun side of megagames, such as coming up with cool mechanics and interesting back story. But the logistical side of it is where people get stuck. Booking your venue, casting your game, promoting it… This can sometimes be a bit off-putting, and it’s easy to put it off.
So I’m going to show you the super fun way I made most of my graphics for my megagame. It’s quick and simple to get started with Canva. Plus the images look way more professional IMO than what you can knock up in Paint or Publisher.
What is Canva?
Canva is a super simple web-based design tool. This means no installation – it can be accessed from any PC with an internet connection. It also works on iPad though I haven’t tried that.
I discovered it as part of my day job as a social media consultant. It makes it super easy to create on-brand graphics for sharing on social media. But it’s not just online images it excels at – it’s good for print as well. In fact, I used it to make a lot of my materials for Everybody Dies.
Before I get into the details, I’ll show you some of the images I’ve made through Canva, for both megagames and other reasons…
How to use Canva
First up, make your account. You can sign in through Facebook or enter your details the old-fashioned way.
Once you’re in, Canva has a pretty comprehensive walkthrough for a lot of the features. The main mechanics should be pretty familiar if you’ve ever used a drag-and-drop design tool like Microsoft Publisher.
Rather than walk you through exactly how to do everything, I’ll show you how I made the bannerman cards for Everybody Dies.
Example: Bannermen Cards
I made all my bannerman cards in Canva. Here’s what one looks like, finished.
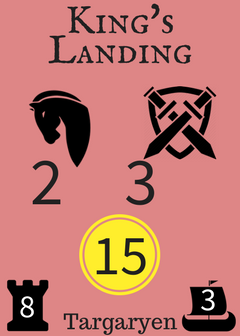
And here’s how I made it.
Step 1: measure a playing card. I needed to work out what size images I needed to end up with (check with your printer, because they may have cheaper prices for certain sizes). Then I created a custom image size of 2.5in x 3.5 in:

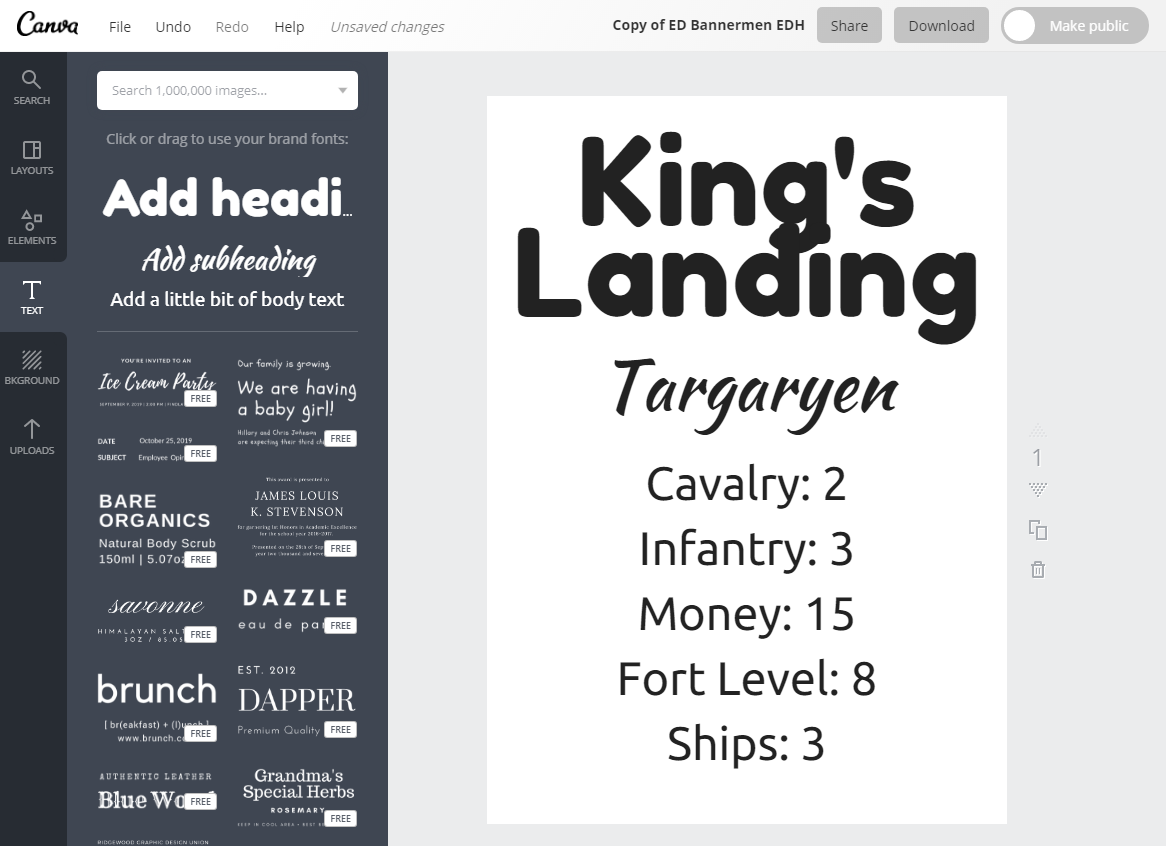
Step 2: Add the important text. For the bannerman cards, this was the Territory Name, the Bannerman name, and the number of cavalry, infantry and money generated. I actually decided to add on the Fortification Level and number of Ships raised at a later point, and not all bannerman cards would generate ships.
I select the Text Tab on the right, then just added heading for the Territory Name, subheading for the Bannerman Name and Body text for the rest.
Step 3: too much text! I decided to use icons for the Cavalry, Infantry, Money, Fort Level and Ships sections. I found suitable images on Google images (though I could also have searched through Canva’s own image banks) and uploaded them for a horse, a shield, a tower and a ship. For the money symbol, I found a fancy looking circle under “Shapes” in the “Elements” section, and coloured it suitably yellow.
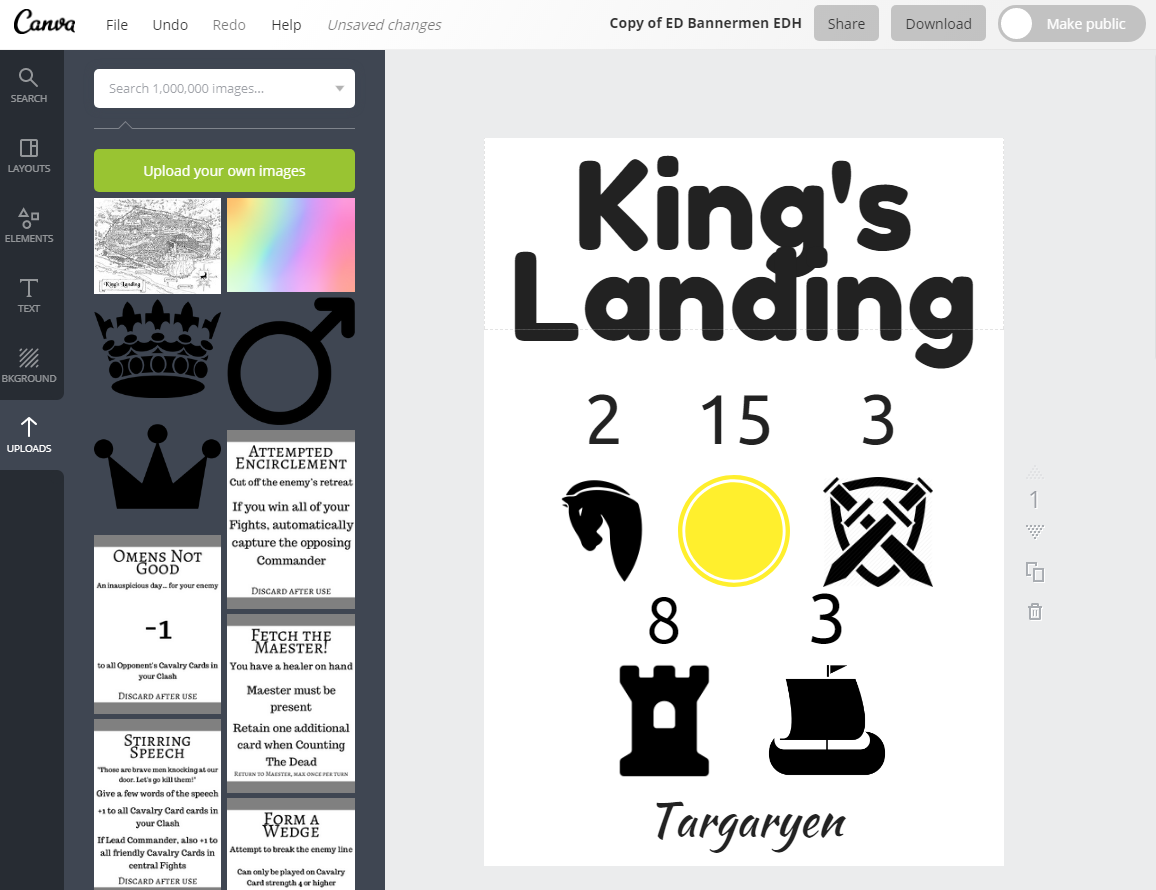
I also moved the Bannerman Name to the bottom of the card to break up the text even more.
Step 4: I decided to reposition the icons, making the most important numbers the most prominent (the cavalry, infantry and money ones, since they would be being raised regularly throughout the game).
I overlaid the money, fort level and ships on top of the icons. Because the tower had a window in it, I just grabbed a black square from the Elements-> Shapes section, and blocked it in.
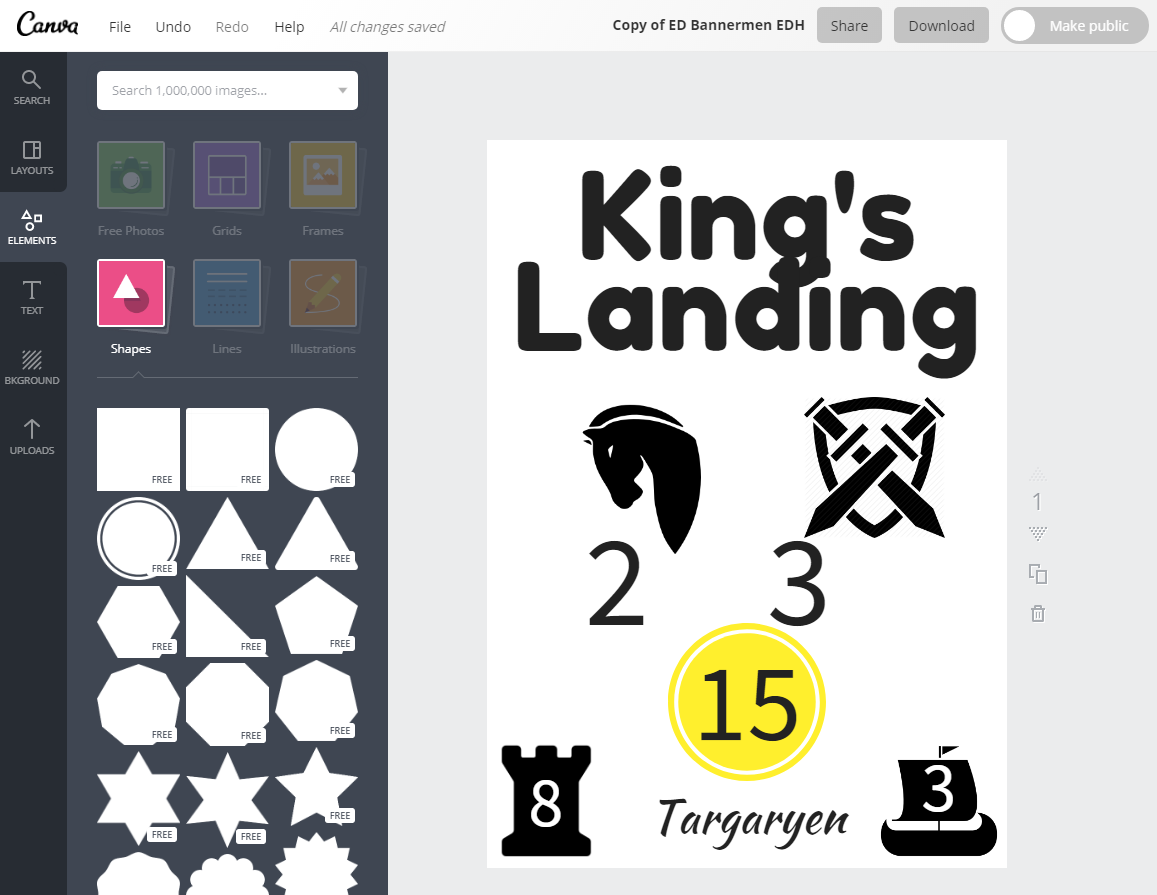
Step 5: I changed all of the fonts to those I was using consistently across the game: IM Fell English Small Caps for the header, Trocchi for the Bannerman name and the super legible Source Sans Pro for the numbers. It’s really important to not let theme get in the way of legibility!
I resized all the elements too. It was important to test out how it would look if, say, the Territory Name fit on one line, or if there were double digits anywhere.
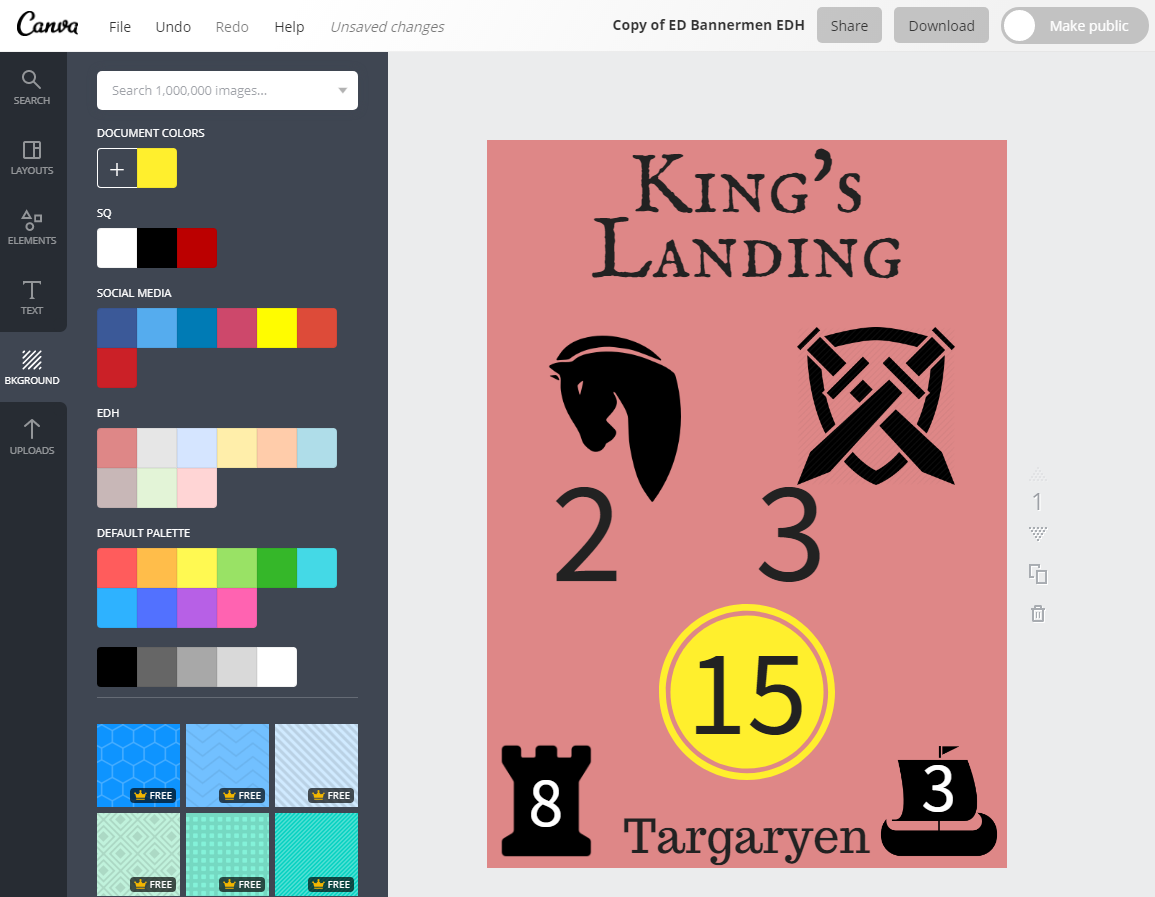
Finally, I changed the background colour to the correct colour for the Region, which had been decided when I designed my map.
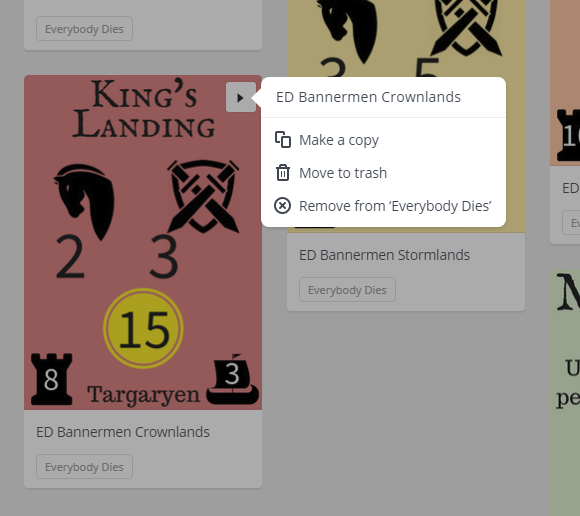
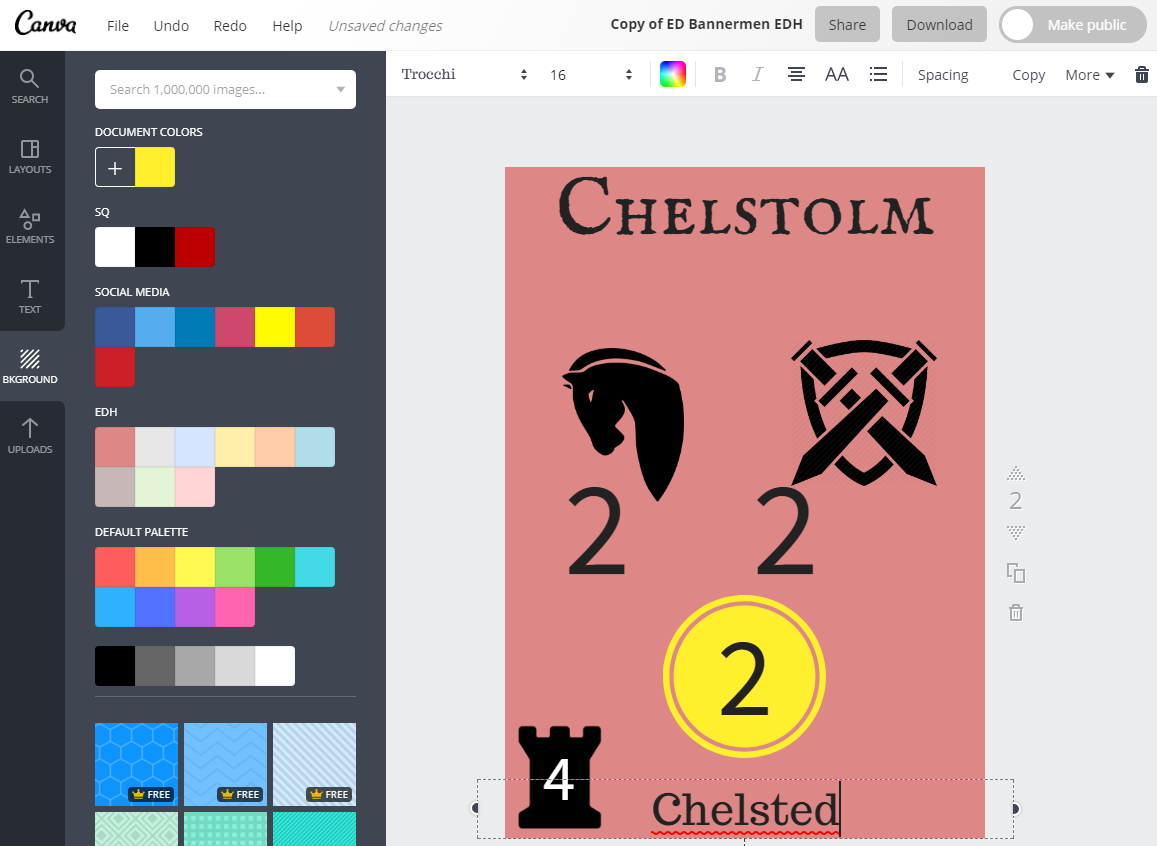
Step 6: Now, to make the rest of the bannerman cards! Firstly, I copied this entire document as a “template”. This means that to create each different region’s cards, I could start with the template version of the card, and in this file I could just concentrate on the Crownlands cards.
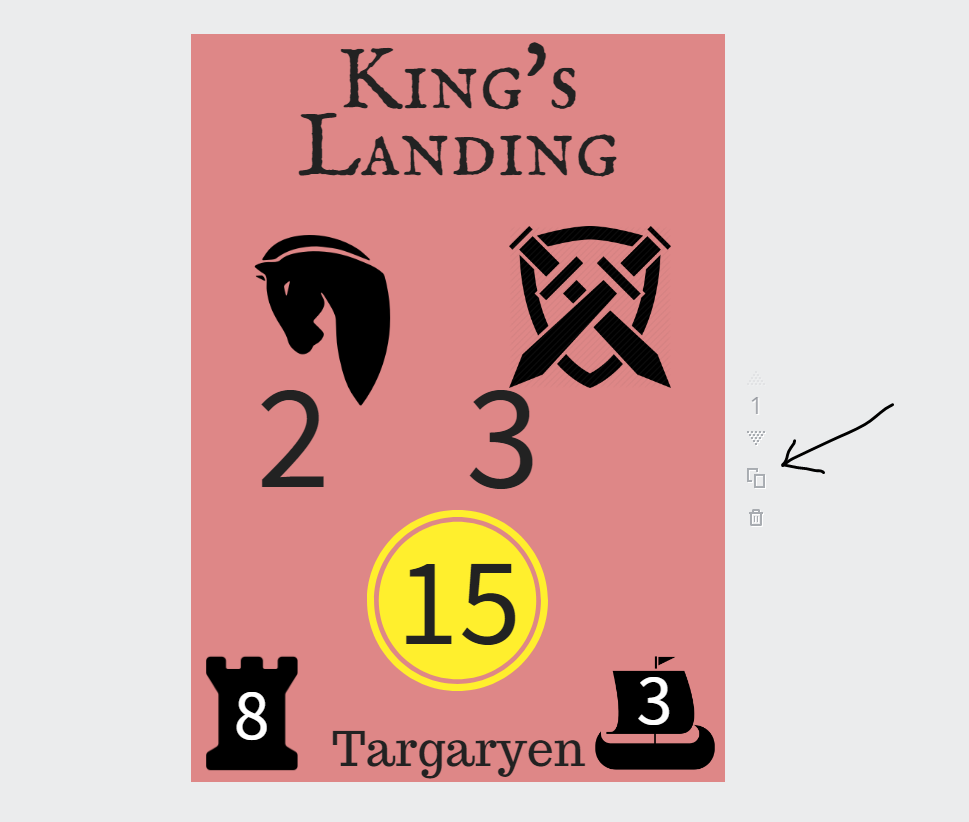
Step 7: To make the rest of this region’s cards, I used the duplicate button next to the card I’d created.
Then all I needed to do was input the new details for the second territory. As you can see, Chelstolm doesn’t raise ships, so I just deleted that section. And repeat, and repeat, and repeat!
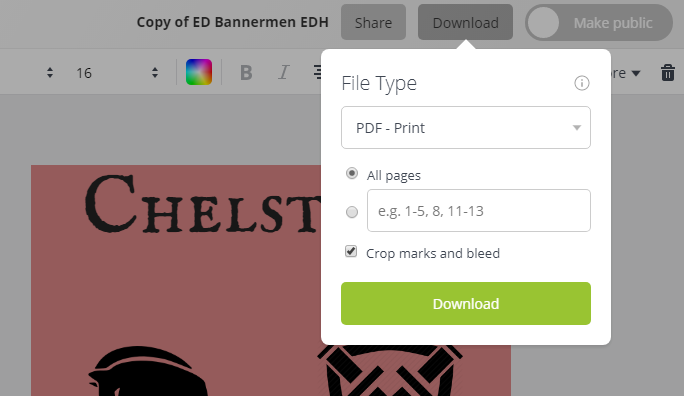
Step 8: At last, it was printing time! I selected file type PDF (print), and since I knew my printer needed crop marks and bleed, I checked that box. Then I clicked Download, and I was done!
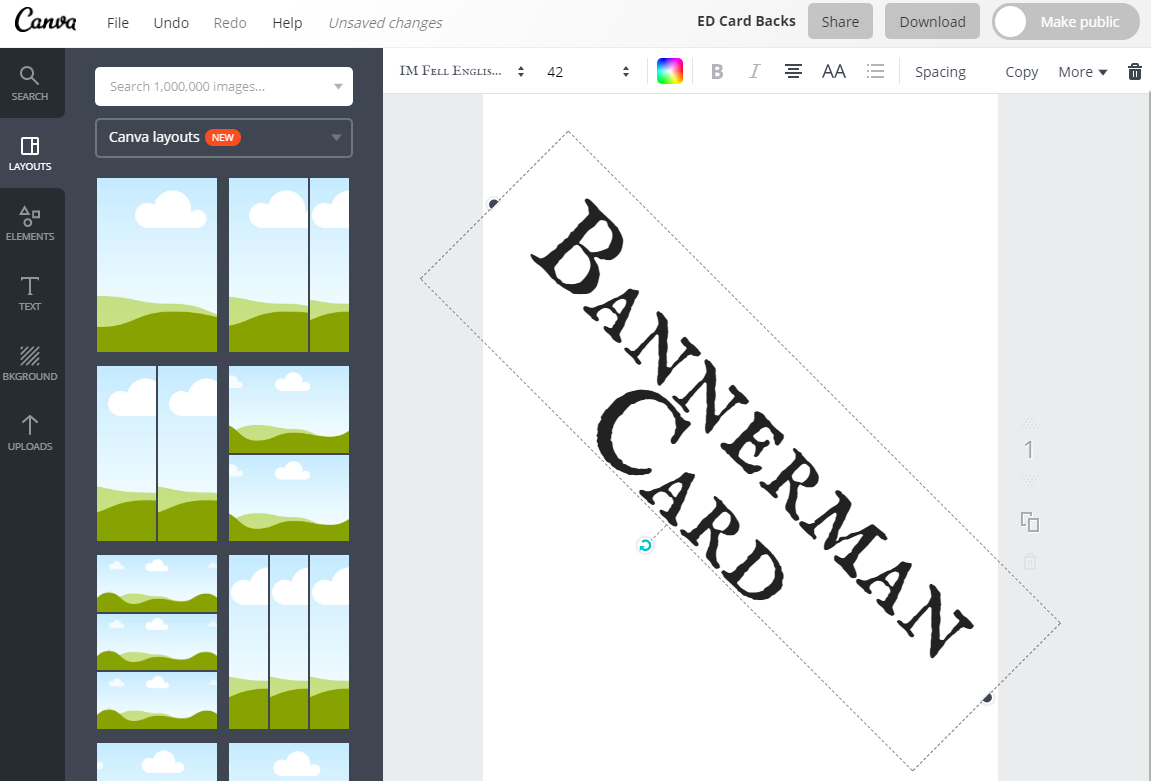
Step 9: the final step was the make a new document (same custom size) and create a card back. This was just simple – I added some text, used the rotation tool when you click on the text to put it at a funky angle, then exported it as pdf quick and simple.
What can you use Canva for?
I used Canva for all aspects of my megagame design… well, not the map, but everything else! Here’s some ideas of graphics you might need for your game, that Canva can help you make.
- Event logo
- Images to promote the event on social media
- Venue floorplan
- Leaflets for local game shops
- Game cards (I made my cavalry, bannermen and family cards)
- Other in-game documents (I made King Aerys’ Small Council Commands)
Benefits of Canva
There are tons of benefits of using Canva. I have the Premium version, so I’ll point out all of the benefits you only get with the paid version. But hopefully you’ll see there’s lots of benefits even using the free option.
Crazy easy interface
As mentioned, if you’ve ever used anything drag-and-drop before, it’ll be pretty easy to pick up. Canva guides you through it, and there’s a lot of other online how-tos as well if you get stuck.
One feature that’s super handy IMO is the quick snap guidelines. If you need to align elements to the centre, or in line with other elements, just click, drag, and then drop when the gridlines appear!
It’s also web-based, so you can access it from anywhere. It automatically saves your images (but there’s an undo function in case you make a mistake). And it even backs up the images in your browser in case you lose internet connection!
Upload your own images or use theirs
You can upload your own images to use in documents (e.g. google what you’re looking for), or you can browse their database of free images and photos. They have a massive image database! While some cost to use (and they’re all only a dollar) there’s a surprising number of free images too.
Premium: You get a lot more images for free.
Useful image sizes, copy and resize
Canva is preset with a TON of useful image sizes. There’s those for sharing on social media, there’s A4, there’s powerpoint presentation size, there’s so many options. Ideal size not there? Well, you can enter a custom one – in pixels, millimeters or inches!
If you’re making a few different cards, and you need to just change the background colour, it’s really easy to copy a single page, or an entire stack of designs, and just make changes to them. That’s how I made my combat cards so quickly. I had one “master” file with the basic card layouts, then I copied them, changed the background and added in the region they were linked to.
Premium: you can resize images, so if you create a rectangular logo and decide you need a square one, you can do that super easily. There’s even a cool function called Magic Resize that does it for you.
Tons of fonts and hex colours
It’s easy to keep your designs consistent. You can use any of the Google fonts in your designs (in fact, Canva was how I discovered the iconic fonts that I used all over my megagame).
All the colouring in Canva is done using hex codes (#000000 means black, etc), so you can use the colour-picker first time, then note down the hex code so you have the same colour across all your designs.
Premium: If they don’t have a font that you like, you can download one from the internet and upload it to Canva!
Premium: You can save brand identities, i.e. the colours and fonts you’re using in your designs, and they’ll be accessible from all your designs.
Templates galore
If you’re stuck when just getting started, select one of the pre-set image sizes (Instagram post, for example) and you’ll be shown a TON of different template ideas. Scroll through to get your creative juices flowing, or select one as a starting point.
Premium: You can use your old designs as templates.
Share with other people
Getting someone else to help enter info into your cards, or want a second opinion without having to download it? The free version includes 10 team mates who you can give access to viewing and editing your photos. Or you can just share the link to your images without adding them into your account at all.
Premium: this takes it up to 30 team mates.
Download the right format
Finished with your design? When you come to download it, you can choose between jpg (great for handbooks), png (perfect for sharing online) or pdf (if you’re printing it). You can also even add crop marks and bleed, if you’re getting it printed professionally.
Disadvantages of Canva
Like all technology, Canva isn’t perfect. Here are a few of the drawbacks you might find.
No Mailmerge facility
If you have a lot of slightly different cards to make, you can’t just set up a mail-merge and leave it running. You’ll need to input it all manually (and double check it all manually too).
This was fine by me – I just stuck on the latest season of Game of Thrones and got super-immersed in my setting while ploughing through the data entry.
Premium
I’ll mention this as a downside, although it’s a pretty expected on. To get some of the really cool features, you’ll need to pay for them. IMO it’s pretty reasonable – $12.95 per month (cheaper if you pay annually), and you get a lot for it. You’d be hard pushed to find anything that’s as user friendly completely for free.
My next game…
Here’s some teaser images for the two games I’m currently developing. Feel free to comment if you can guess what they are 😉
Let me know how you get on making images on Canva!
